Finishing Helix® Slabs
Helix® does not require any special finishing treatment; however it does require that proper finishing procedures are followed as detailed on this page and in ACI 302.1R-04 Guide for Floor and Slab Construction.
As Helix® is 4.5 times denser than aggregate (8 g/cm3 vs. 1.8 g/cm3), it will never appear on the surface of a concrete slab if proper finishing procedures are followed.
There are four basic steps to finishing: screeding, bull floating, power floating and troweling. If any step is not performed correctly, slab performance may be compromised and Helix® may appear on the surface.
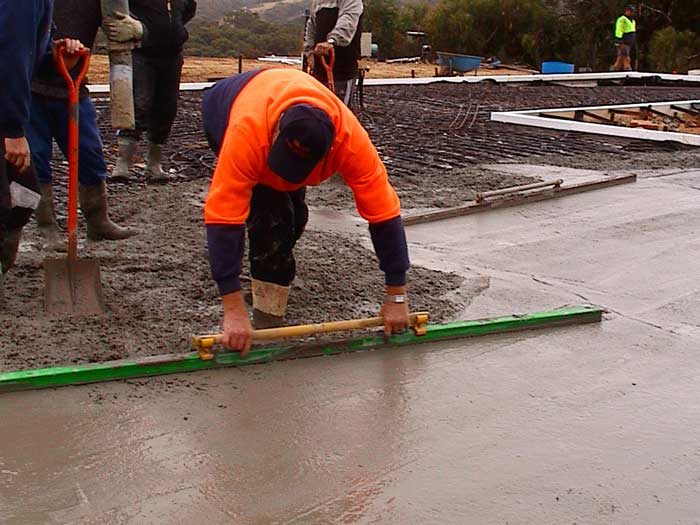
Step 1 - Screeding
Screeding is the act of striking off the surface of the concrete to a predetermined grade, usually set by the edge forms. This is done immediately after placement. A slump of 125mm or 5" or higher will facilitate strike off.
A slump of less than 5" is not recommended as this will prevent surface segregation of the cement and fines from the aggregate and Helix®. A vibrating screed is recommended as this facilitates the segregation process.
Step 2 - Bull Floating
This is the first step in the compaction and consolidation of the unformed concrete surface. It is done by hand and takes place immediately after screeding. This should take place before any excess moisture or bleed water is present on the surface. A wide bull float or darby is used.
Bull floating eliminates ridges and fills in voids left by screeding. The importance of bull floating cannot be understated as the process enables the cement and fines (the cream) to rise to the surface and the aggregate and Helix fibers to sink below the cream.

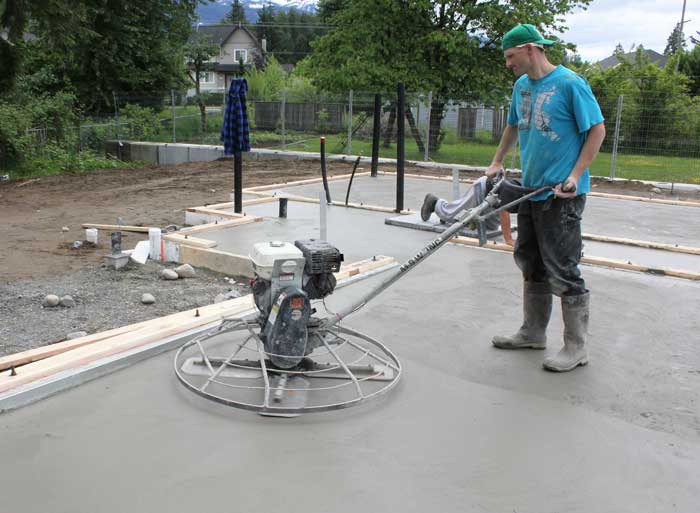
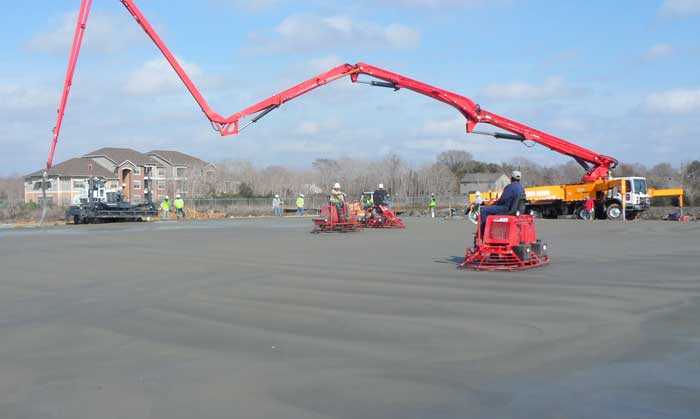
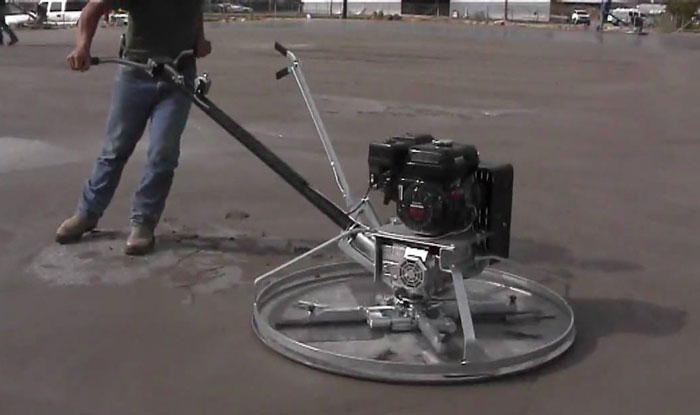
Step 3 - Power Floating
Power floating is only done after the surface bleed water has evaporated and the concrete can support a finisher on foot without more than a 1/4" indentation. Power floating is critical as it breaks open the concrete surface: large aggregate and Helix® float downwards while cement and fine aggregates are sucked to the surface.
If power floating is not done sufficiently or if it is started too late, both aggregate and fibers will remain on the surface as adequate segregation will not occur.
It is also important that a special 'floating' pan be installed over the finishing blades. The pan has a curved edge around the outside perimeter to prevent its edge digging into the surface. The use of "float shoes" that fit over finish blades is not recommended as these do not provide the same level of segregation of the cream from the aggregate and fibers.
Step 4 - Finish Troweling
The purpose of troweling is to produce a dense, smooth, hard surface. Troweling is done immediately after power floating.
No troweling should ever be done on a surface that has not been power or hand floated. The machine operator must remember to remove the floating pan to expose the troweling blades.